I now have an interesting idea what I could use the LaunchPad for. I don’t want to tell too much about it yet, but I ordered a GameBoy camera I want to connect to it, so now I need to take a look on how to program it.

Why a GameBoy camera? I’ve been looking for a camera I could connect to an Arduino to do some basic shape recognition. While I was looking for existing solutions I gathered from a lot of people that an Arduino is just too slow and doesn’t have enough memory to do anything realistic with it. That’s the main reason why I want to give the LaunchPad a try, the 32bit ARM Cortex CPU with 80MHz should have substantial more computing power than the 16 MHz ATMEGA chip on the Arduino. Additionally I found this article by Michael Shimniok where he describes how he attached the GameBoy camera to an Arduino and used it to relay the captured images to a computer.
After connecting it to the PC with the debug USB port it started to run the pre-installed RGB demo, cycling the LED through colors, but it only showed up as unknown devices in the windows device manager. Most downloads on the TI website don’t work, so I looked for alternate means to write code for it and found the Energia IDE. Energia is a fork of the Arduino IDE ,which I am quite familiar with by now, and the newest release (that coincidentally came out just a couple of days ago) comes with support for the LaunchPad.
After some searching and a little trial and error I found working drivers for the LaunchPad on the TI website. After installing the drivers (rightclick on the unknown devices, update drivers) the device shows up as a virtual COM port but it is still not usable in the Energia IDE. Everytime I try to upload a compiled sketch I get the following error message:
Binary sketch size: 1.916 bytes (of a 262.144 byte maximum)
Failed!
No ICDI device with USB VID:PID 1cbe:00fd found!
I double checked, the VID/PID of the LaunchPad device matches. No idea what’s the problem here. The Energia forum was of no help, so I decided to look further. Luckily, today I was able to download StellarisWare and the Code Composer Studio from the TI website. Good news: I can program the LaunchPad with it, I was able to follow TIs Project0 instructions without problems. Bad news: Code Composer Studio needs a commercial licence. I expected this, that’s why I was searching for an alternative in the first place. For now I can use it with a the Bundle/Dev Kit license, a “free licence for use with EVMs and development boards with onboard emulation as well as XDS100 class emulators”. That should suffice for now, maybe I can switch to Energia later when it actually works.
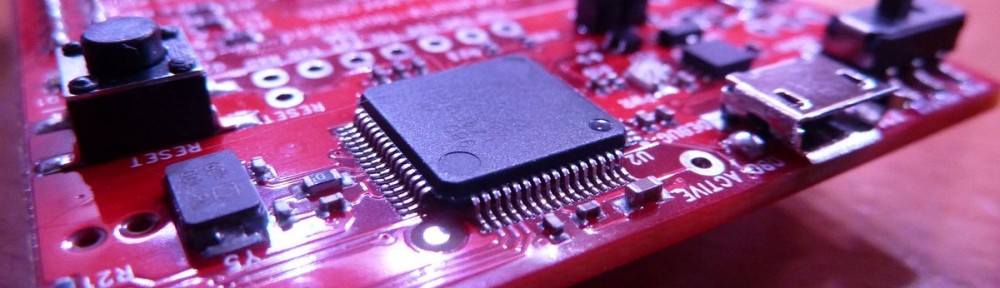
 In the meantime the GameBoy camera arrived, I drilled it open and removed the CCD module from it’s head. Now it’s time to connect it to the LaunchPad and get started!
I do like your projects and your interests are similar to mine.
As for Arduino + some shape Recognition for my own (currently under construction) RC boat I will probably pursue the following hardware in the nearest future:
– Mini PC: MK802/MK808 ARM Cortex A8 1GHz (808 version is dual core) + has wireless
– a small CCTV camera (or a decent 720p camera like the one on Parrot Ar Drone)
– OpenCV for shape recognition. Ports have been made for Android and even better for most linux distros
This “brain” will be used for processing power which will then send commands to Arduino so the boat can avoid collisions by controling the rudder and motors through the ESCs.
Good luck and keep posting your interesting Arduino/RC Boat stuff!!
I have the same issue with Energia not being able to flash my launchpad. I get the same error message and there still isn’t an official fix for it. I do have a workaround, though.
Go to preferences and turn on verbose output for compiling. Then write your code and just use the Verify button. You will see where the compiled .bin file is located and you can then copy and paste it into the LM Flash Programmer on the “Program” tab. Just make sure you select the right board on the “Configuration” tab under “Quick Set” first. I also use the options Verify After Program and Reset MCU After Program.
It’s a few extra required steps for now but it’s a small price to pay for being able to use Energia.
After some time with the Arduino, I faced with insufficient ruesorces, either memory or processing power.So I went for the chipKIT UNO32 designed by Diligent and built around the 80 MHz Microchipae PIC32MX320F128 with 32-bit, 128K Flash, 16K SRAM. At roughly the same price as the Uno, this is terrific value.The programming IDE is exactly the same as for the Arduino, except it handles both AVR and PIC32-based environments through the selection of the board. It is called mpide for multi-platform IDE. Software and hardware compatibility is better than expected. See my website for more on that.I have no experience on the TI’s platform, but you get what you pay 2K Flash and 128 bytes of RAM.